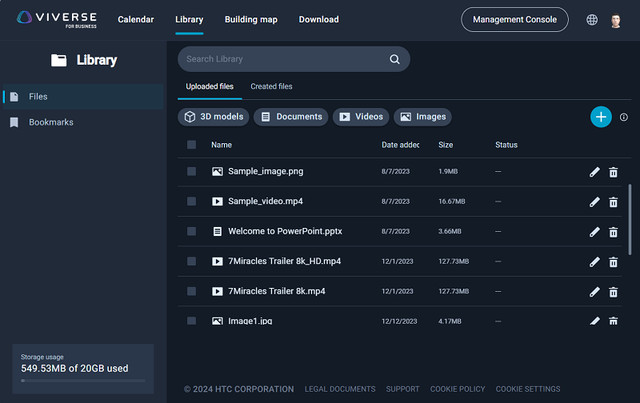
Before you can view files—PDFs, videos, 3D models, and images—in the virtual space, you need to upload them to your VIVERSE for Business cloud storage space
using the VIVERSE for Business User Console.
Note:
To upload
PowerPoint files to
VIVERSE for Business, you need to use
VIVERSE File Manager. For details, see
Uploading PowerPoint files.
- In your web browser, go to the VIVERSE for Business User Console and sign in with your HTC account.
-
At the top of the webpage, click Library. The Files tab will be selected automatically.
Note: All your uploaded files will be listed by default. You can click a file type to filter the list by type.
- On the Uploaded files tab, click
 > File upload.
Note: To find out which file formats can be uploaded, see Types of files you can view in VIVERSE for Business for details.
-
Select the files you want to upload and click Open.
Note: When uploading several files, the upload progress will appear in a panel in the lower right.

- To cancel pending file uploads, click
 next to their filename.
- File uploads that are being converted cannot be cancelled.
Files you've uploaded will be added under the corresponding file types. You can filter the file list by clicking a file type.

You can do any of the following with uploaded files:
| Task |
Steps |
| Rename a file |
Click  . . |
| Delete a file |
Click  . . |
| Delete multiple files |
Select the files and click  above the list. above the list. |
| Delete all files |
Select the checkbox above the list and click  . . |

Comments
0 comments
Article is closed for comments.